custom shapes in Photoshop
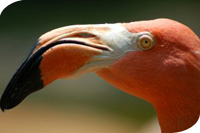
Custom shapes can be very useful for making multiple objects that look the same. For example, say you want several photos to all be cut out of the same shape, like this:
Creating a Custom Shape
-
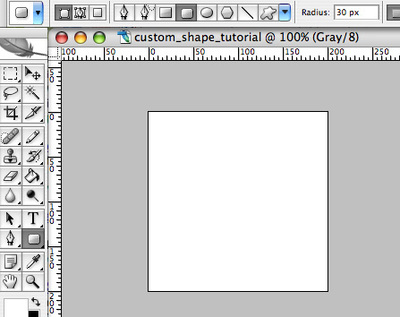
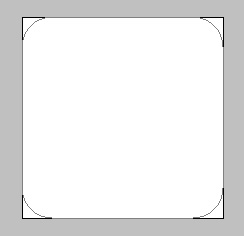
Create a blank 200 pixels x 200 pixels image. Select the Rounded Rectangle Tool and set its radius to 30 px.
-
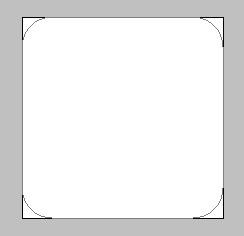
Draw a rounded rectangle that takes up the whole image.
-
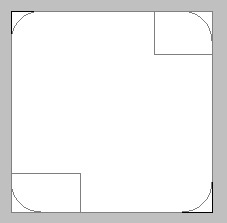
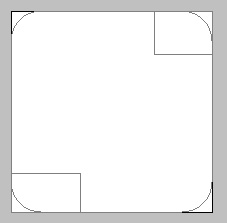
Choose the Rectangle Tool and select the Add to Shape Area button.

-
Draw just any old rectangles in the top right and bottom left corners. This will add the areas to the path.
-
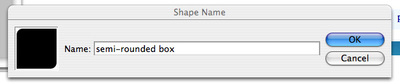
In the Path window, choose the path of the shape you’ve just constructed. Go to the Edit menu and choose ‘Define Custom Shape…’. Give the shape a name and click ‘Ok’.


Using the Shape
-
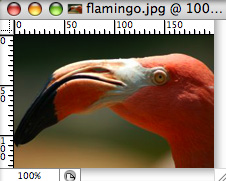
Open another image.

-
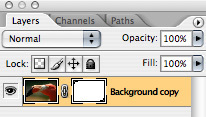
Duplicate the background layer and delete the original. You will be left with ‘Background copy’.
-
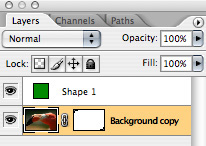
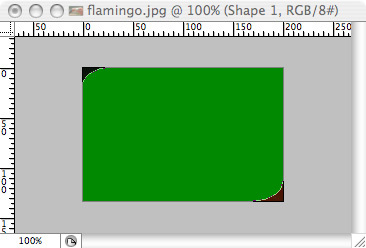
Choose the Custom Shape Tool and select your shape from the drop-down menu on the right.

-
Draw your shape from the top left corner to the bottom right. It will be created in a new layer above your regular image–this is fine.
-
In the Layers Dialog, grab the shape and drag it down onto the layer that has your image.

-
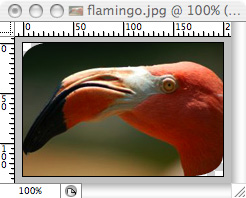
Now you can delete the shape layer, leaving only your image layer.
-
Voila! Now you have your image with the custom rounded edges that you designed.